Lesson 30: Character State Machine and Animation Transitions
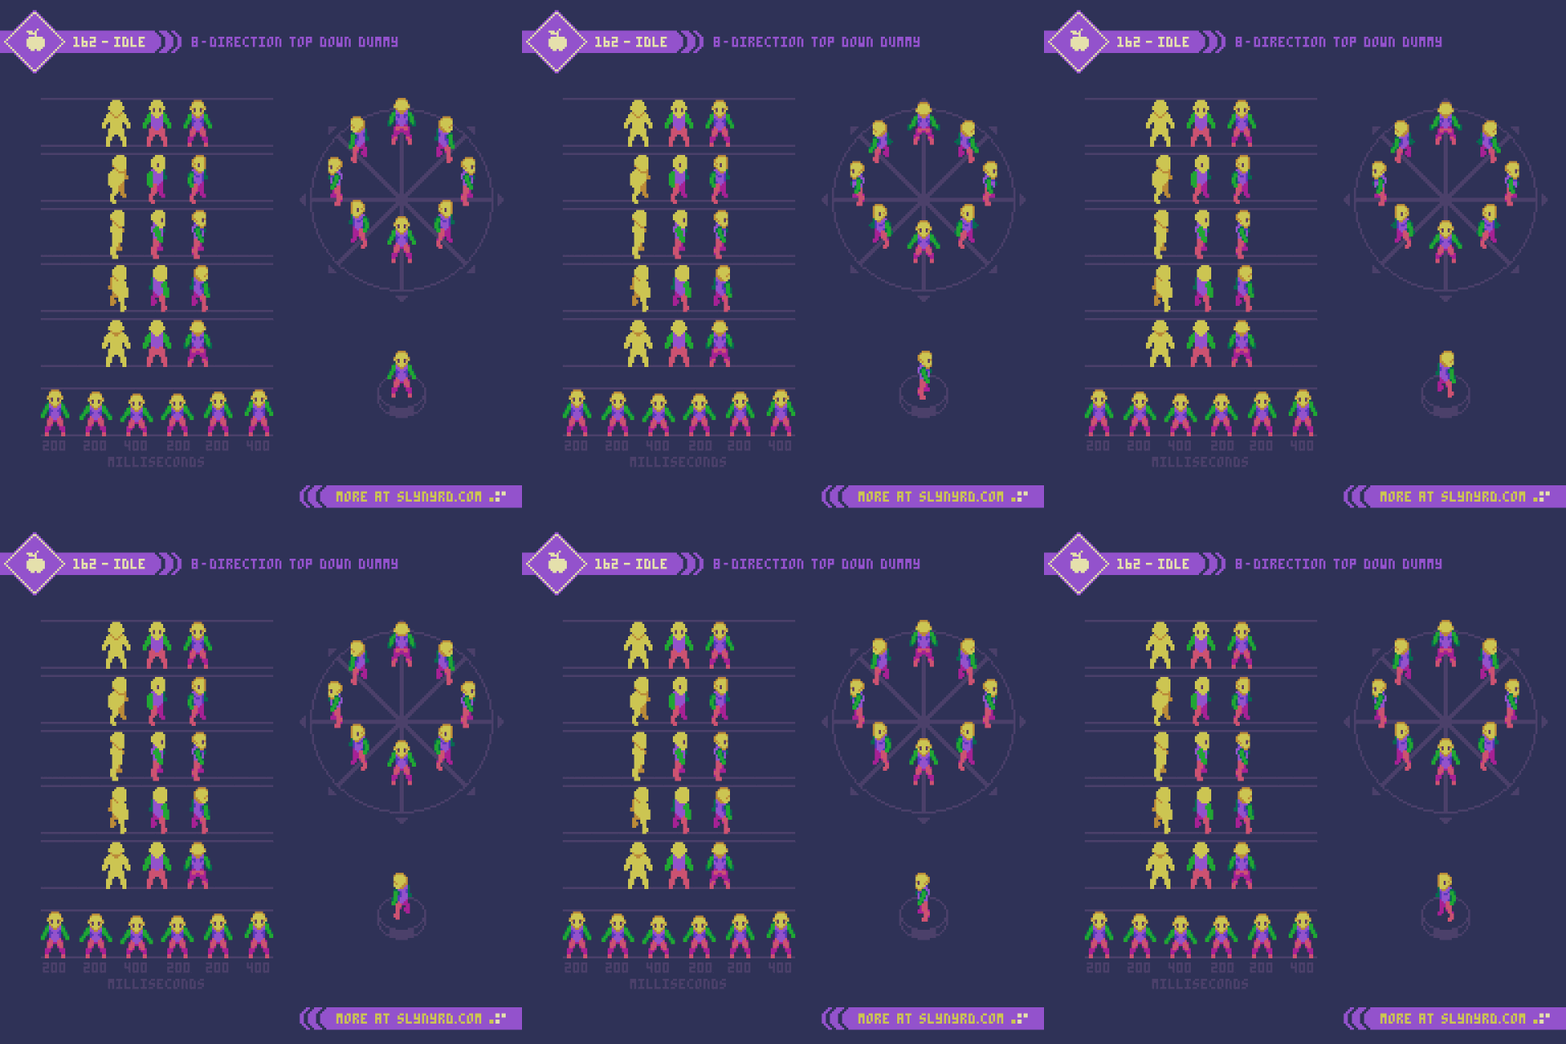
Last lesson you learned to draw Idle, Walk, Attack, Hurt; the more clips you cut, the easier it gets messy — can you jump during an attack? Should hurt interrupt walking? Can you move after death?
A state machine gives the answers: each "identity" is only allowed to do certain things, and how identities switch must be written down clearly.
Like an elevator: doors close → arrive and open → timeout and close again. Characters work the same way — only the states become Idle / Walk / Attack.
1. List the "Identities" First
A set that works for small projects:
| State | Roughly plays | Can usually switch to |
|---|---|---|
| Idle | Idle loop | Walk, Jump, Attack, Hurt |
| Walk / Run | Walk / run loop | Idle, Jump, Attack, Hurt |
| Jump (can split into takeoff / airborne / landing) | Airborne frames | Attack (air), Hurt, land back to Idle |
| Attack | Non-looping segment from last lesson | Idle, Walk, Hurt (can interrupt) |
| Hurt | Short non-looping hurt | Idle, Die |
| Die | Fall down | (usually ends) |
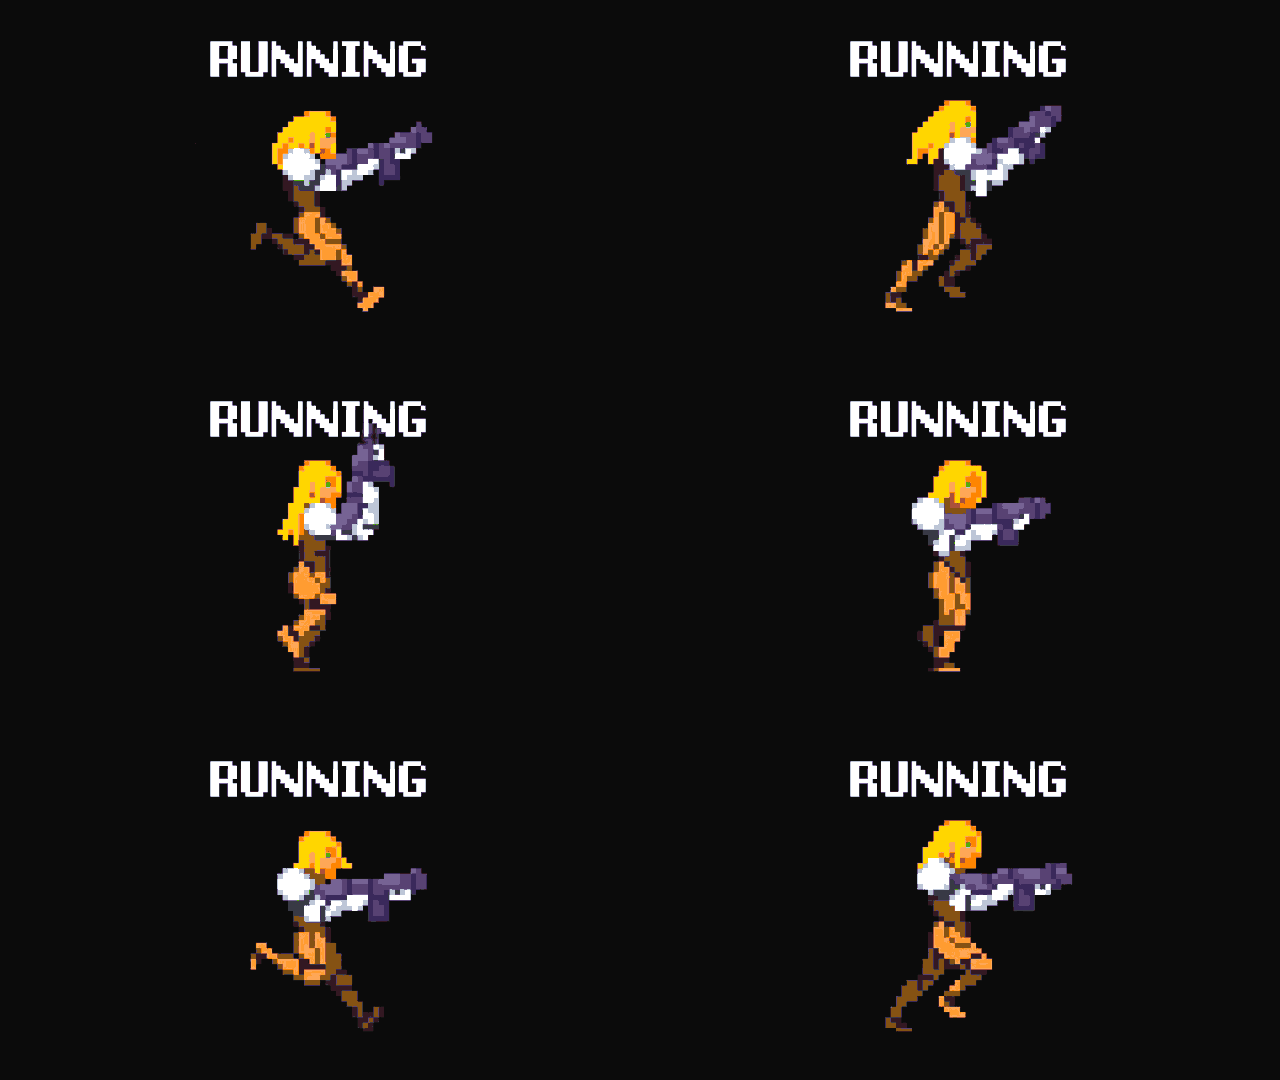
Each state maps to one clip (or a group of clips). Where it says RUNNING, that's the engine's play("run") kind of thing — names aligned with states so lookup doesn't go crazy later.
Top-down games often multiply by direction: Idle×8, Walk×8… still "state + facing," not hundreds of unrelated animations.
Extended states (add when needed): Dash, Guard, Crouch, Climb, Cast… don't make them all upfront; get four or five core ones working first.
2. Transitions: Who Is Allowed to Become Whom
Transitions depend on conditions, not random jumps:
| Condition | Example |
|---|---|
| Input | Press attack → Attack |
| Animation finished | Attack ends → Idle |
| Physics | Feet leave ground → JumpAir; land → Idle |
| Damage | Get hit → Hurt (dodge invincibility can block) |
| Resource | HP≤0 → Die |
Minimum valid table (just remember the backbone):
Idle  ──direction──► Walk ──release key──► Idle
  │               │
  │attack         │attack
  ▼               ▼
Attack ──finished──► Idle / Walk
Any (damaged)──► Hurt ──finished──► Idle
Any (HP=0)──► Die
Don't allow illegal ones: walking after death, opening a big move during Hurt without canceling, instant-cutting to a second attack during Attack wind-up… unless you explicitly design cancel rules.
Common priority from high to low: Die > Hurt > Attack / Dash > Jump > Walk > Idle. When multiple conditions are met at once, take the higher one.
3. Switching: Hard Cut or Blend a Little
Pixel games mostly use hard cuts (new state's first frame appears immediately) — faster feel.
To reduce abruptness: keep start/end silhouettes of adjacent states close (Attack recovery ≈ Idle opening), insert 1–2 transition frames if needed; don't make a ten-frame blend that muddies feedback.
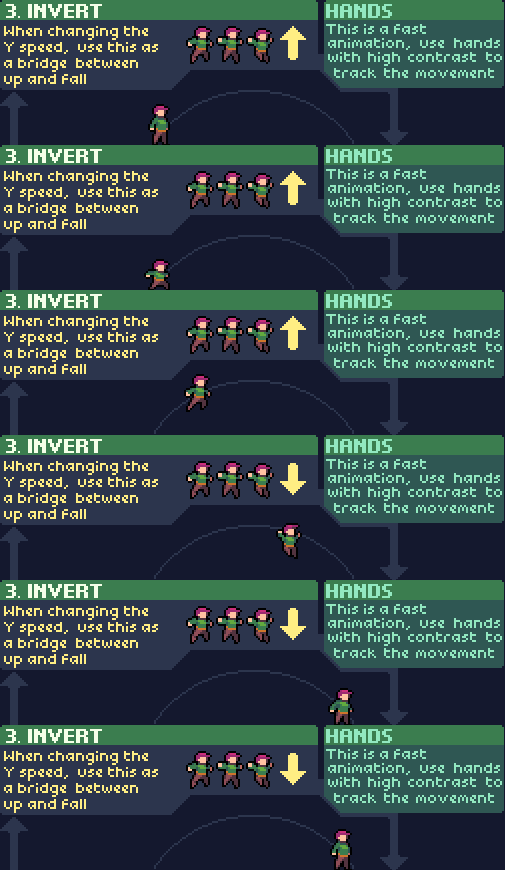
In jumping, the transition between "rising ↔ falling" often has one Invert / apex frame — a bridge when Y velocity flips. That's a state (or sub-state) boundary: Up → Invert → Fall; don't expect one infinite loop to handle it alone.
Cancel: allow dodge / jump during attack recovery — advanced game feel; don't allow it every frame, or you erase "recovery cost."
4. Animation Events: Bind Gameplay to the Same Frame
State decides "which clip plays"; events decide "what happens on this frame":
| Timing | Common events |
|---|---|
| Attack frame starts | Open Hitbox, play swing SFX, spawn Lesson 28 VFX |
| Attack frame ends | Close Hitbox |
| Dodge start | Open invincibility; close on end |
| Last animation frame | Allow switch back to Idle / combo window |
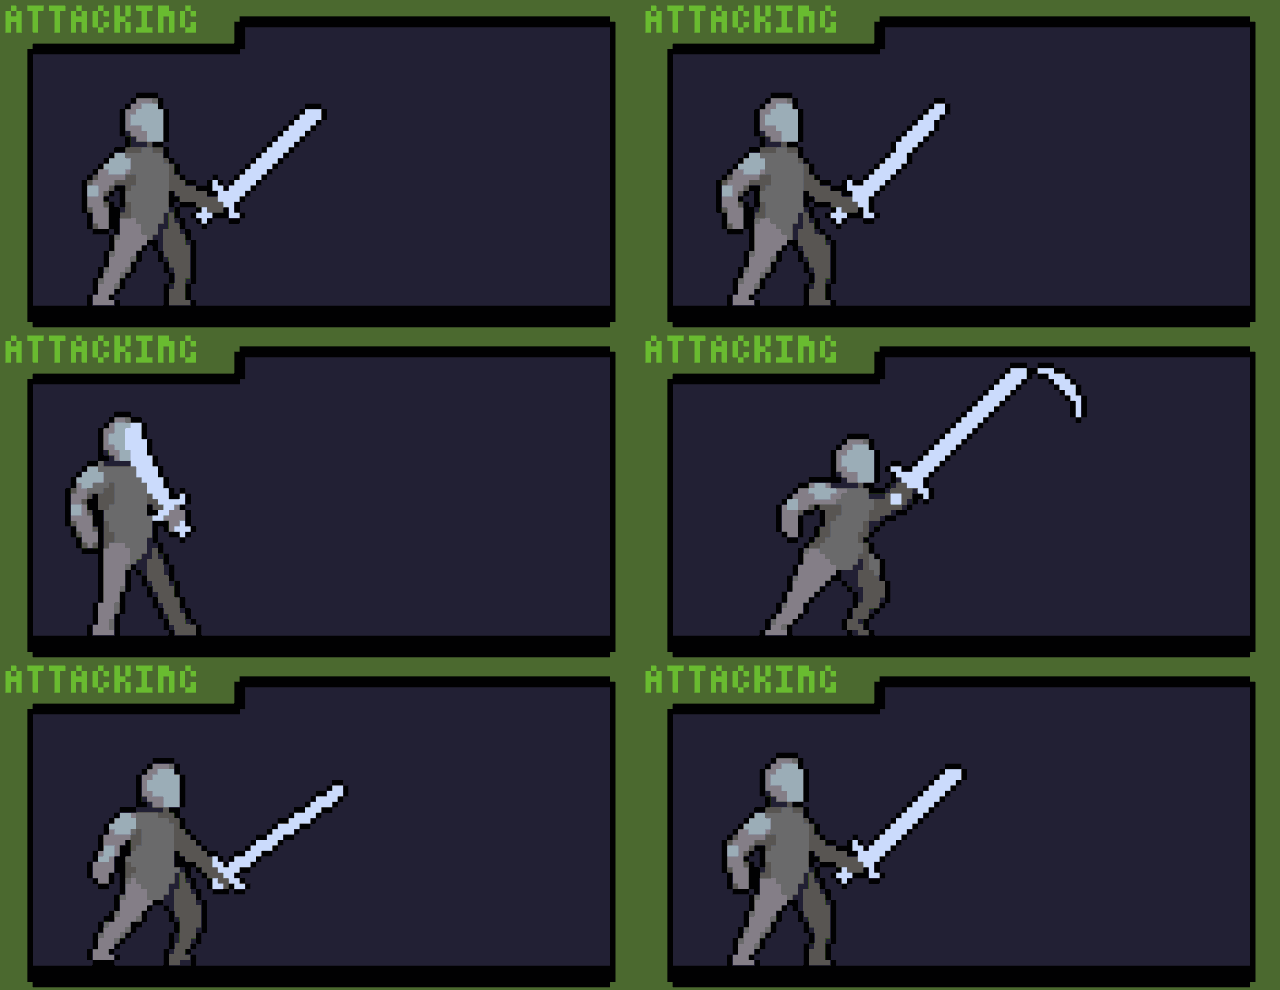
Attack state full flow: input enters Attack → play non-loop → open hit detection on middle frames → when finished, return to Idle (or chain next hit). Don't leave Hitbox "permanently on from the moment attack is pressed."
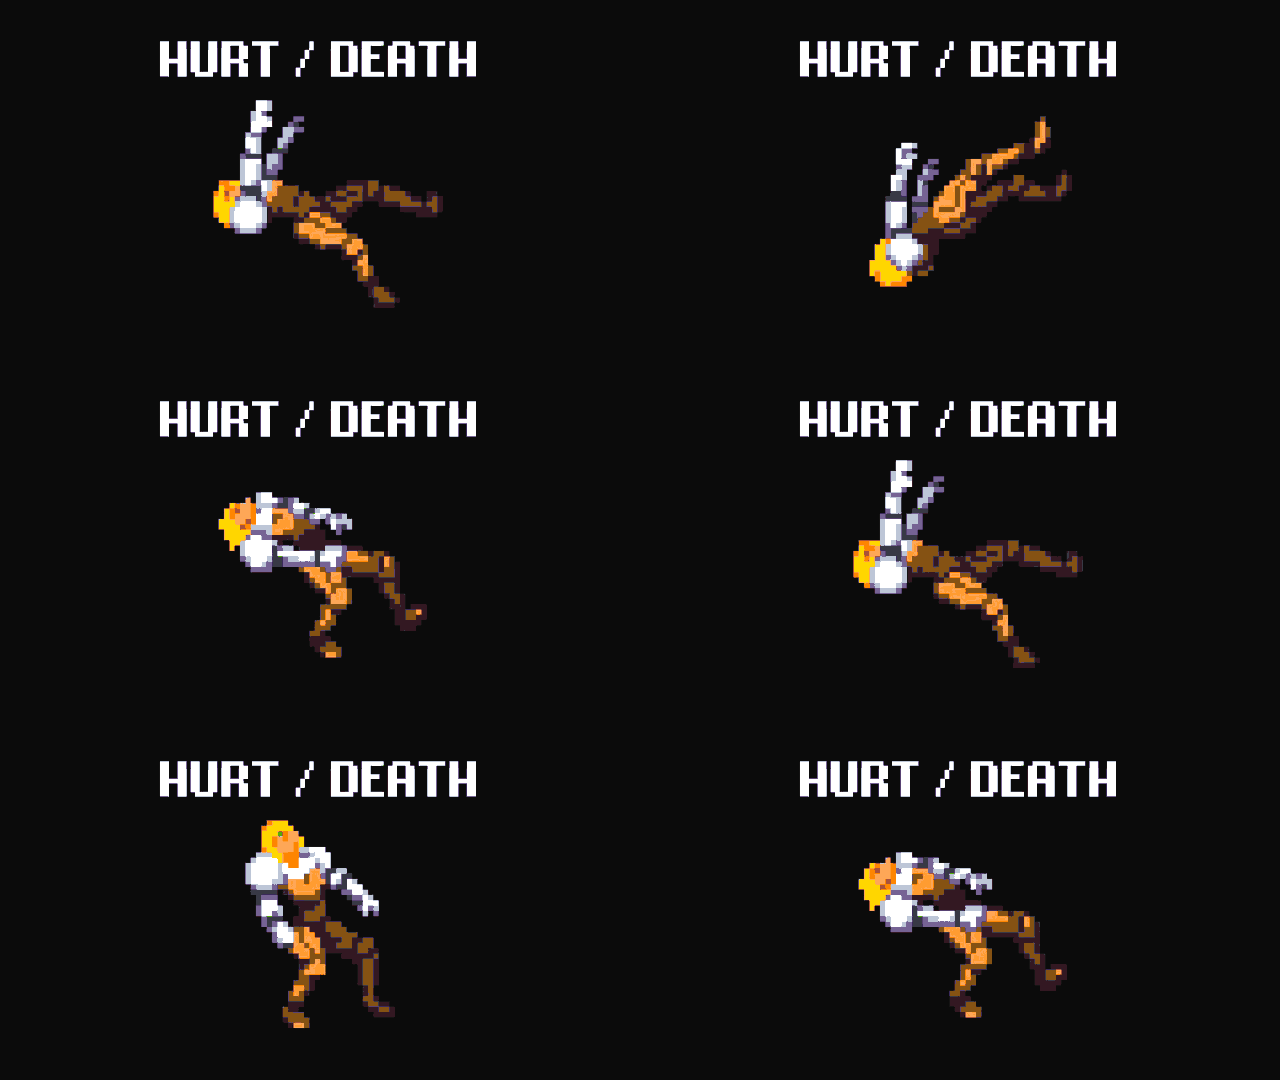
Hurt / Die have high priority: mid-Attack, getting hit may hard-cut — unless the current frame has super armor. Die generally no longer accepts movement input.
5. Compound: What When Two Things Happen at Once
Sometimes it looks like two actions at once: running while shooting.
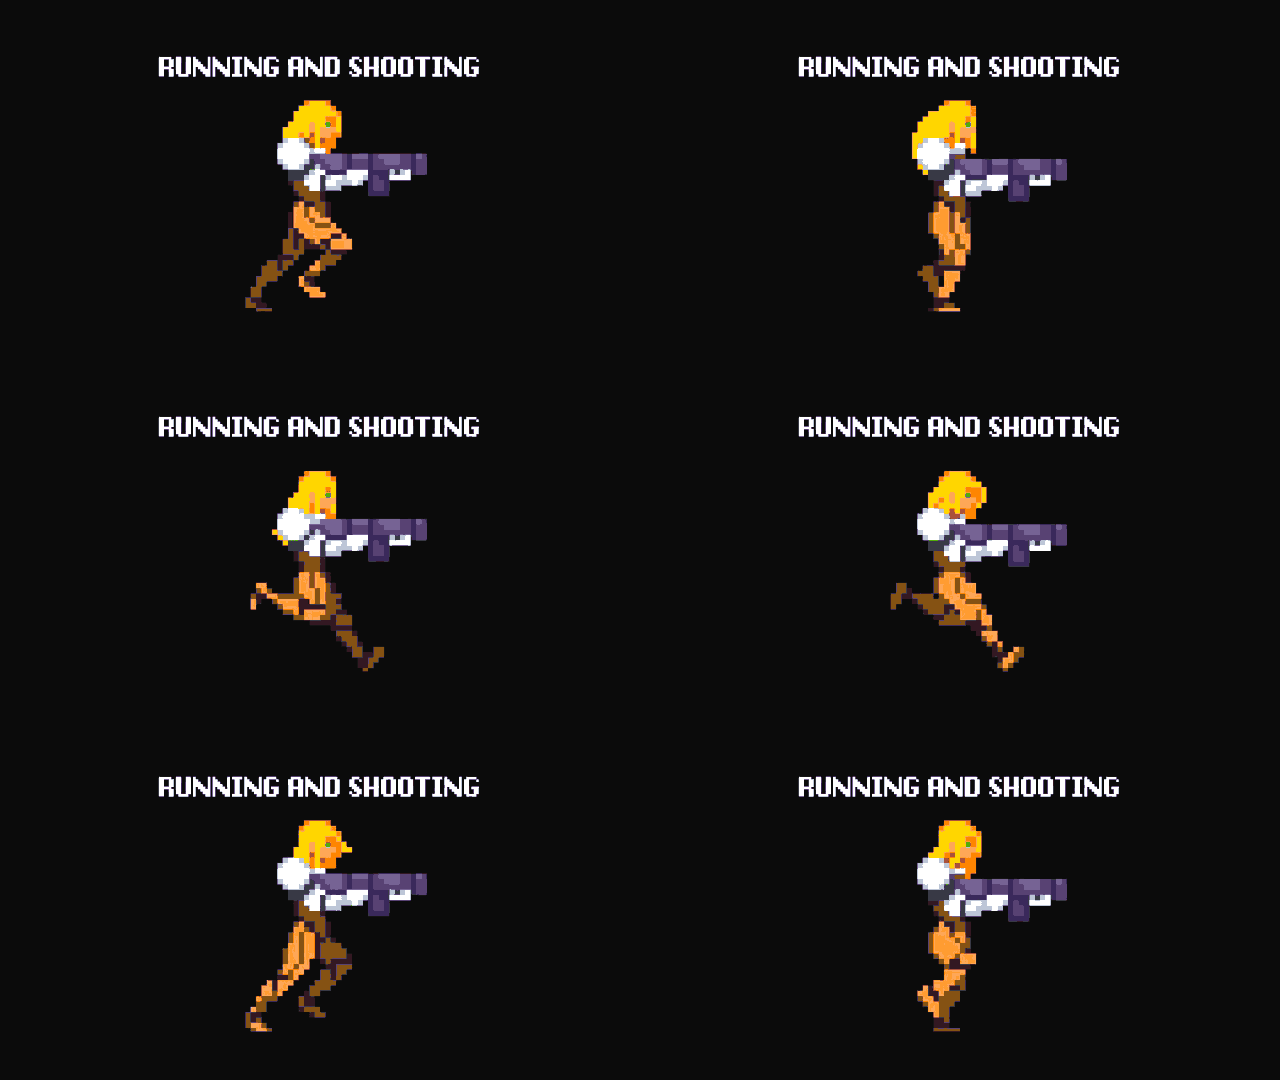
Pick one approach and write it into the design:
- New state:
RunShoot(dedicated clip, longer table, clearest) - Layering: lower body Run + upper body Shoot (saves frames, slightly more complex to implement)
Don't let code be "half Run, half Shoot" with no state name — you'll cry during Debug later.
In engines: Godot can use AnimationTree / custom enum; Unity uses Animator parameters (Bool / Trigger). Draw it out on paper first, then drag nodes. One-line implementation: on change_state, check whitelist → switch play(animation name) → on animation_finished, return.
6. Homework
Define a working state machine for your character:
- State list: at least 6 (including Idle / Walk / Attack / Hurt), one sentence each on what it does
- Transition table: who → whom, one-sentence trigger condition; circle illegal paths
- State machine diagram: paper or Draw.io is fine
- Attack event table: which frames open / close Hitbox, VFX, SFX, when transitions are allowed at end
- Optional: in engine, run through
Idle → Walk → Attack → Idle, getting hit enters Hurt
Next lesson covers NPC / enemy animation — player state machines are greedier; the other side is often leaner, but AI needs a different clip rhythm.
课程作者:像素熊老师
微信公众号「教你画像素画」 · B站 · X / Twitter · GitHub