Lesson 32: UI Animation and Cutscenes
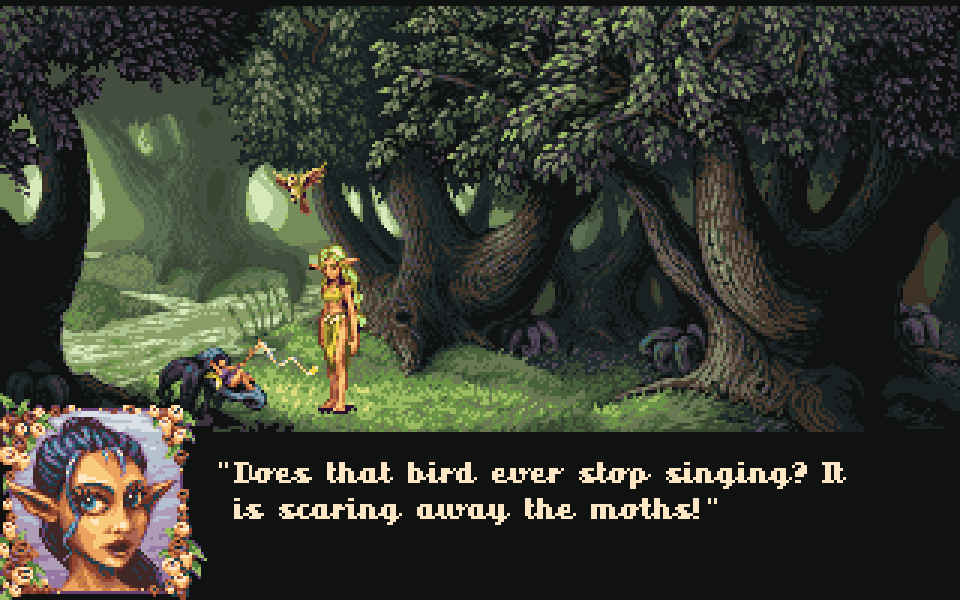
Characters and enemies can move; the interface and narrative need to move too. Lesson 27 covered UI parts; this lesson covers how parts enter, give feedback, and exit.
Good UI animation is almost invisible — but one click and you know it worked. Cutscenes are "I'm taking over the screen for a few seconds."
1. UI Animation Does Three Things
| Purpose | In one sentence | Examples |
|---|---|---|
| Feedback | Tell you it registered | Button press down, loot float text |
| Guidance | Draw your eye to what matters | New button glow, quest bar slides in |
| Atmosphere | Match the world | RPG feels like opening a book; sci-fi feels like scanning |
Fast, purposeful, consistent as a set. Reference durations:
| Type | Approximate |
|---|---|
| Button click | 50–100ms |
| Toast / notification | 150–250ms |
| Panel slide in | 200–300ms |
| Major cutscene | 0.5–2s (don't make level select wait three minutes) |
2. Common Motion Approaches in Pixel Art
State switching (Lesson 27 four states): Normal / Hover / Focus / Active. Motion is swapping images, or shifting the whole block down 1px.
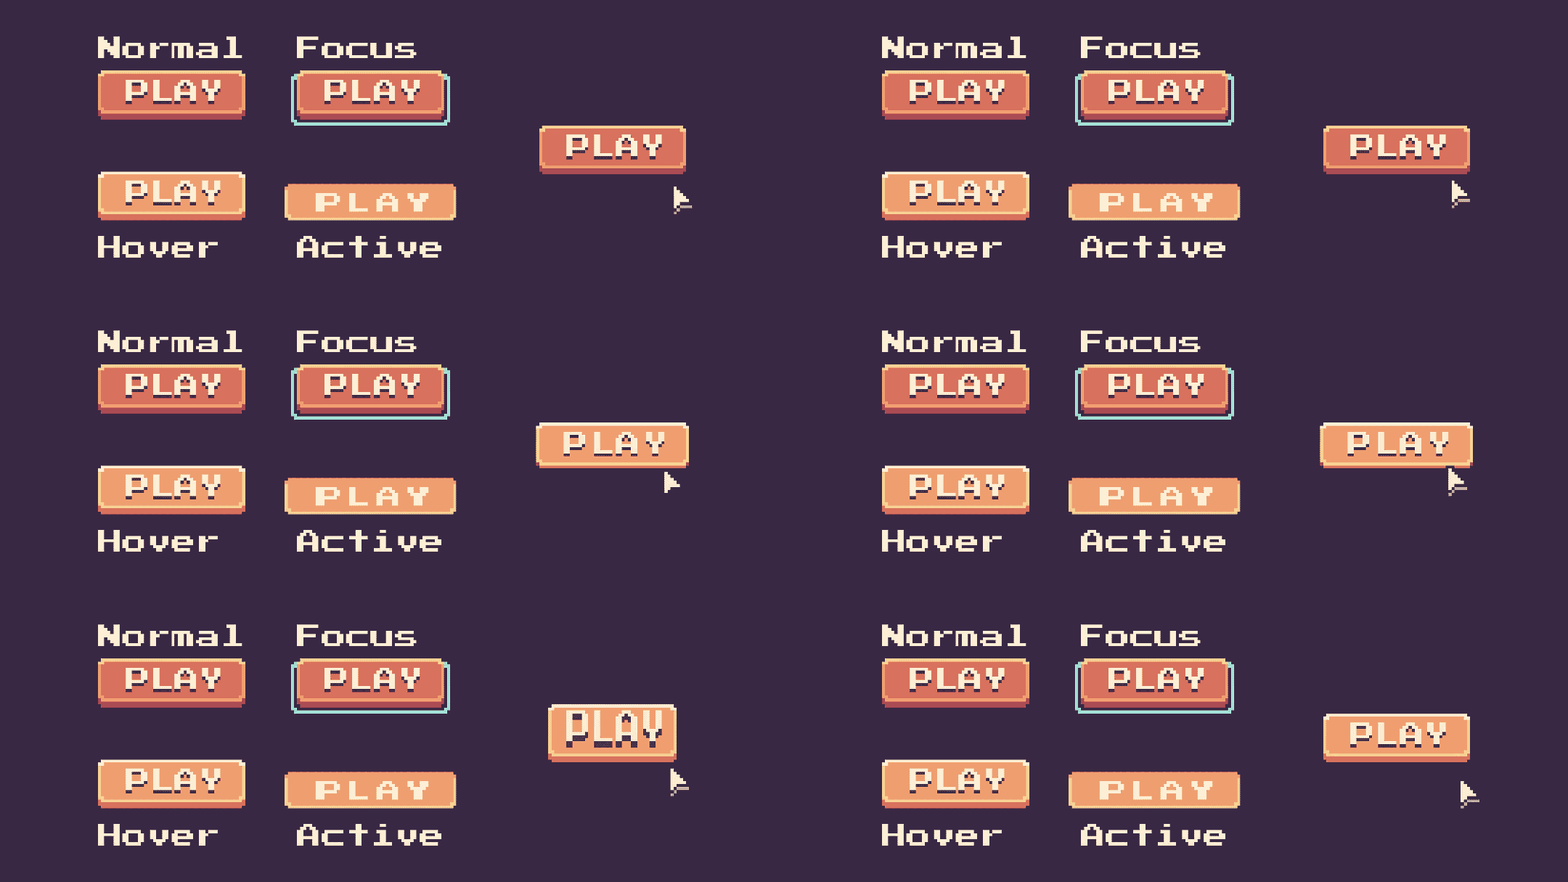
Press and bounce: don't hold Active too long; release snaps back immediately. Key prompts can also jitter or flash on their own.

Pop / slide in / fade in:
- Pop:
80% → 100%or slight overshoot then return (100% → 110% → 100%) - Slide in: from off-screen in whole-pixel steps (e.g. 4px per frame)
- Fade in: semi-transparent overlay, Toast
Panels appearing as a set: pause menu, shop, level-up prompt — same entry rules for the whole set.
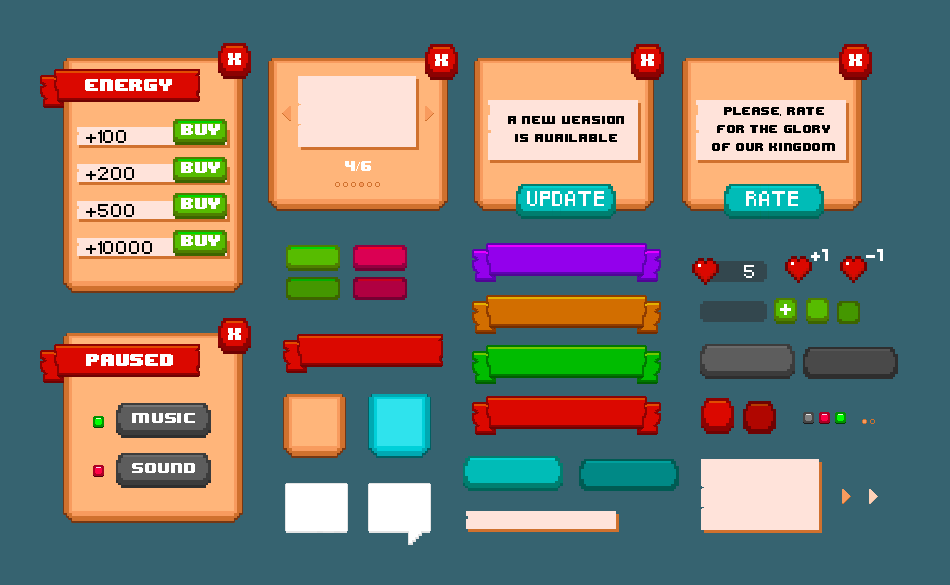
Number scroll: damage / gold shouldn't jump instantly; tween to target over a short time, can stack with upward float text.
Pixel hard rules:
- Integer positions; enable Pixel Snap
- Scale prefer
2× / 3×, or swap to a larger asset directly; avoid1.5×blurry edges - For pixel flavor: dialog box border can "grow one tile at a time," then typewriter text
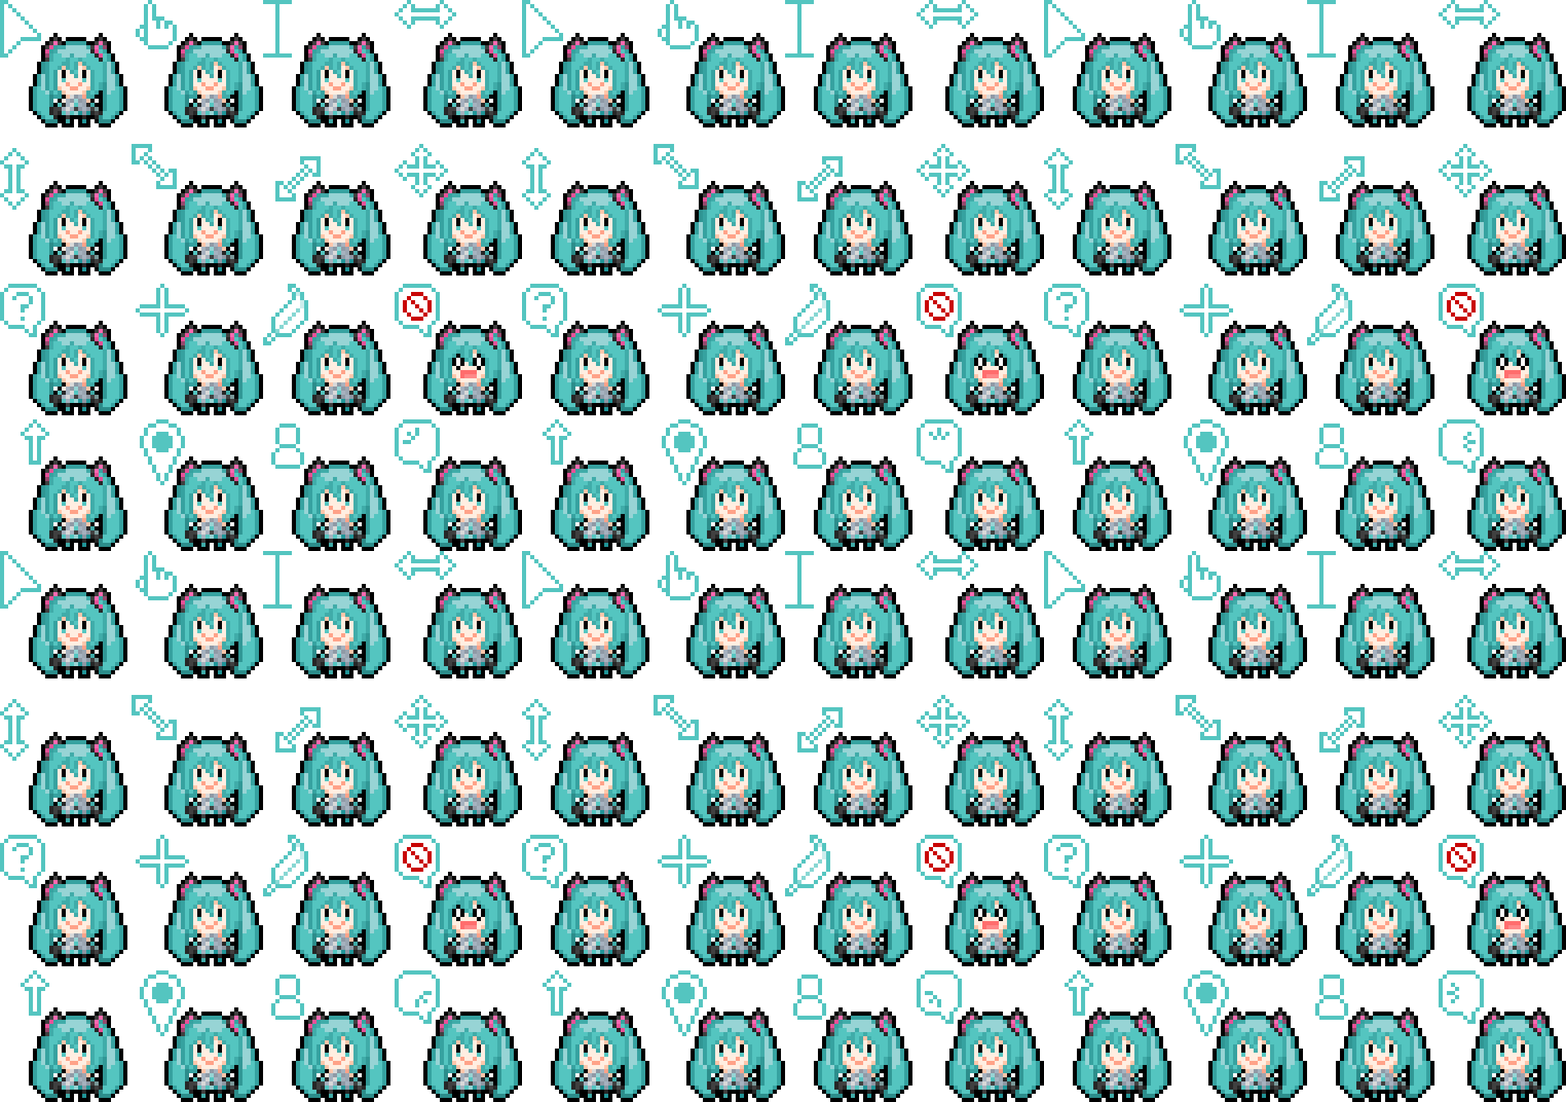
Cursors can animate too: arrow / hand / disabled / dialog… swap state based on hover target.
3. Cutscenes: Write the Shots First, Then Stack Effects
Cutscene = briefly take control away to tell one thing: opening, level change, win/lose, tutorial demo.
Pixel projects prioritize:
- In-game cutscenes: act out with existing sprites in the scene (smooth transition, small file size)
- Visual novel style: character art + background + typing + slight shake / flash white
Avoid very long pre-rendered video unless you actually have a cinematic budget.
Don't use too many shots; 3–5 shots is enough for small projects:
| Shot type | Purpose |
|---|---|
| Wide | Atmosphere, location |
| Medium | Dialogue, walking |
| Close-up | Expression, key item |
Motion: push in for emphasis, pull out to close, pan to change scene, follow character. Transitions: hard cut (tight), fade in/out (time passed), flash white/black (impact), pixelate then cut (stylized).
Hand-drawn perspective walk, dungeon corridor push — that's the pixel approach to "camera moving," good for level doors or dream sequences.
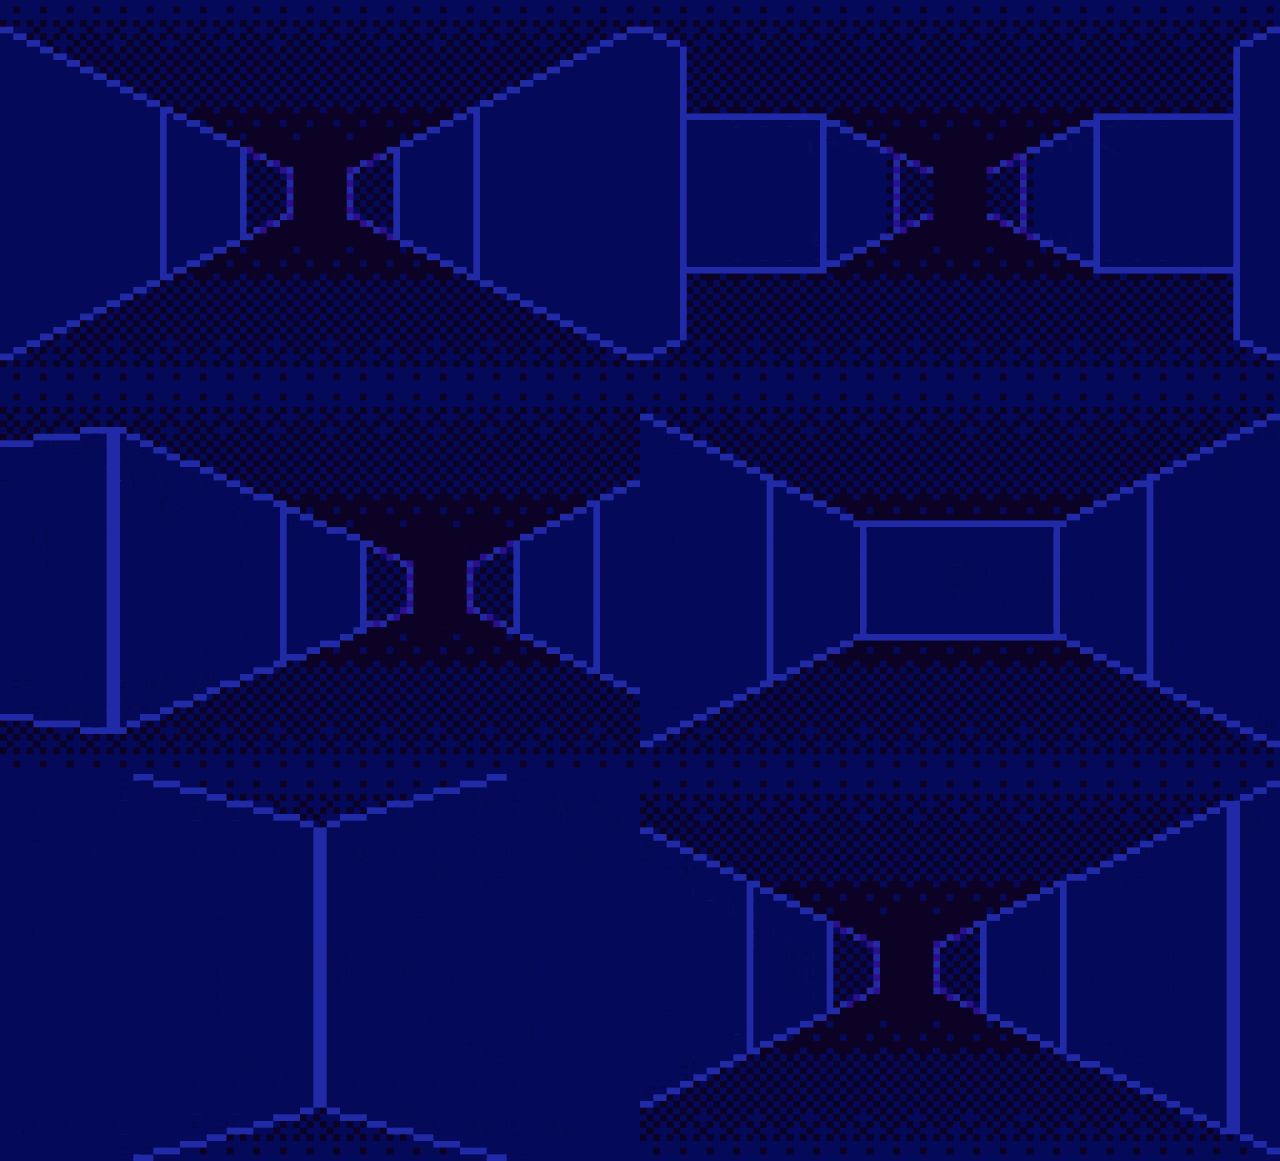
Production order: script → storyboard → assets → timeline. Each shot notes: how many seconds, which animation the character plays, when text appears, SFX. Get a static frame-switch version working first, then add easing and VFX.
4. Homework
Make a reward pickup UI sequence (chest open or direct item pop), about 2–3 seconds:
- Timeline: appear → open/scale up → item flies out → prompt holds → dismiss; note approximate milliseconds per segment
- Assets: closed/open (or 4–6 frame sequence), one 32×32 icon, optional glow/stars, one "Obtained ××" panel
- Pixel alignment: animation path uses integer coordinates; list whether you used hard cut or Ease Out
- Optional A: run through in engine with Tween / AnimationPlayer and record
- Optional B: write a 5–10 second in-game cutscene script (3–5 shots) + simple storyboard; mark transition type
Next lesson covers game cover and promotional art — the game works; now make people want to click on first sight.
课程作者:像素熊老师
微信公众号「教你画像素画」 · B站 · X / Twitter · GitHub