Lesson 34: Complete Game Art Asset Pack Production
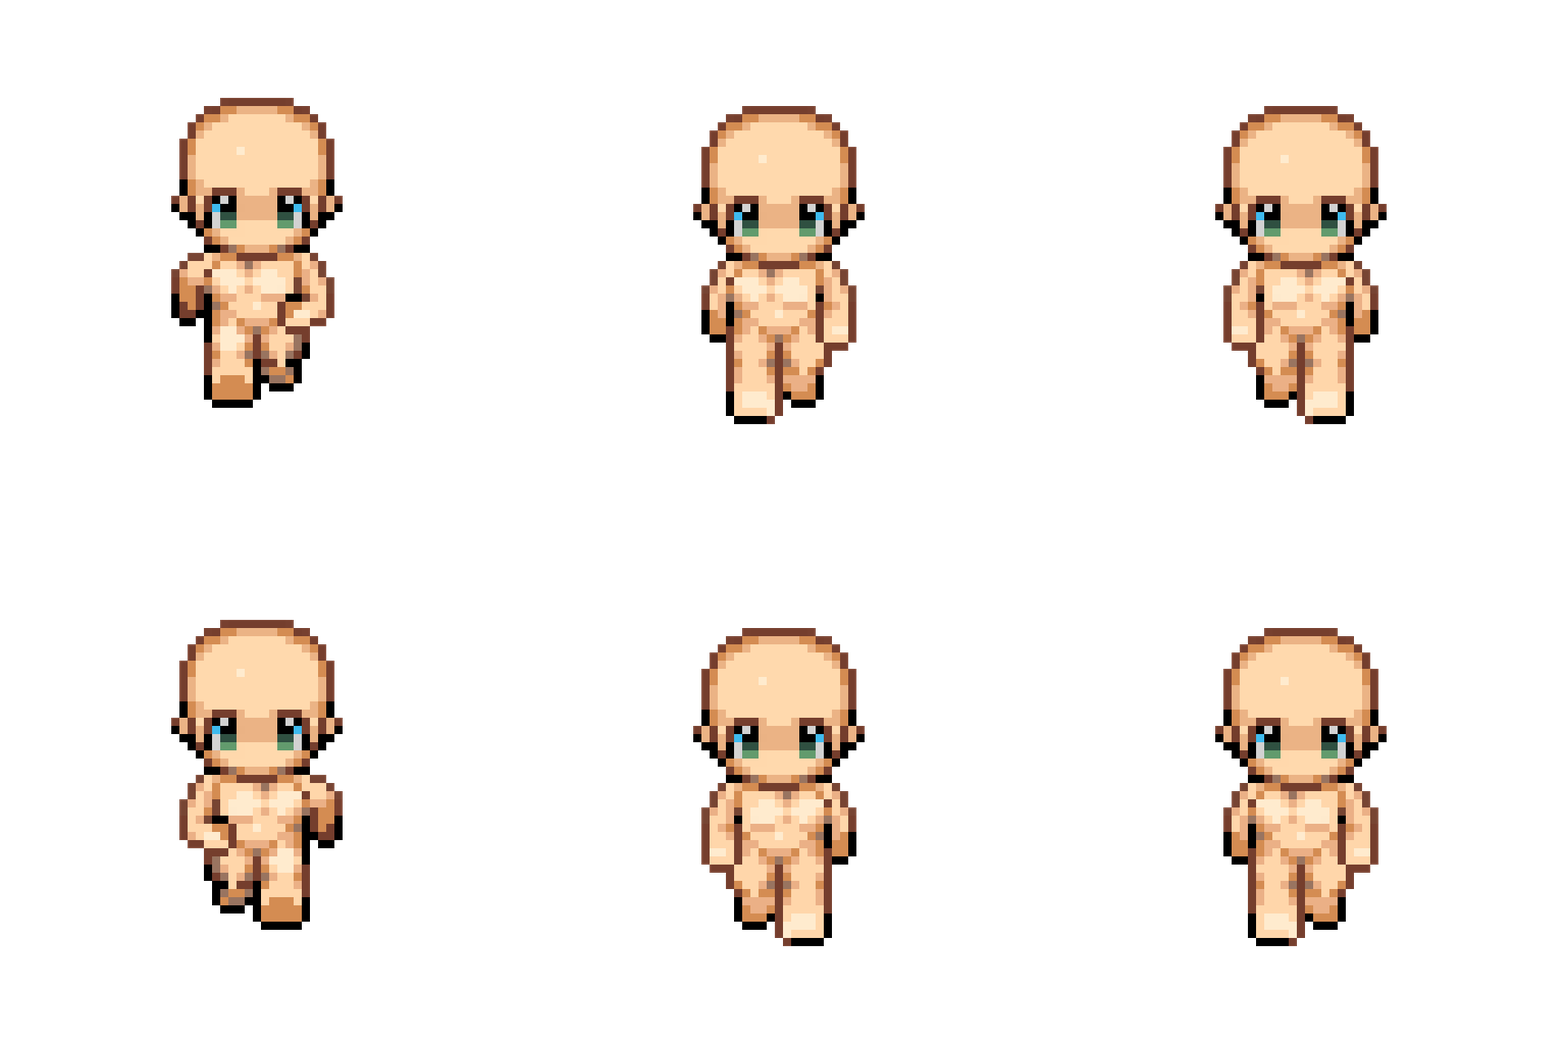
From Lesson 21 through the cover lesson, you've practiced every part. This lesson gathers them into a deliverable Asset Pack: someone else (or future you) can unzip and prototype.
A pack isn't "throw old homework into a ZIP." Style must be unified, folders clear, gaps filled, usage documented.
1. What a Pack Usually Contains
Minimum publishable set (small theme is fine):
| Category | Minimum |
|---|---|
| Character | 1 protagonist: Idle / Walk / Attack / Hurt / Die |
| Enemy | 1 grunt: same (can be leaner) |
| Scene | 1 tileset + a few props |
| UI | Button four states, panel nine-slice, health bar, several icons |
| FX | Hit / spark type short sequence |
| Promo | Cover or preview collage, 1 image |
Character sets share head-to-body ratio and palette; swap clothes not skeleton — buyers love "expand the cast in one breath."
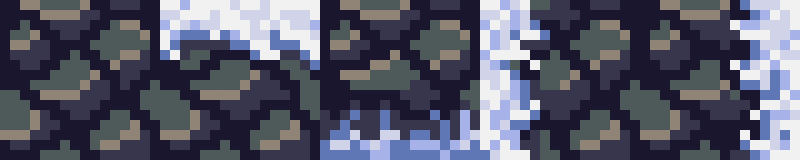
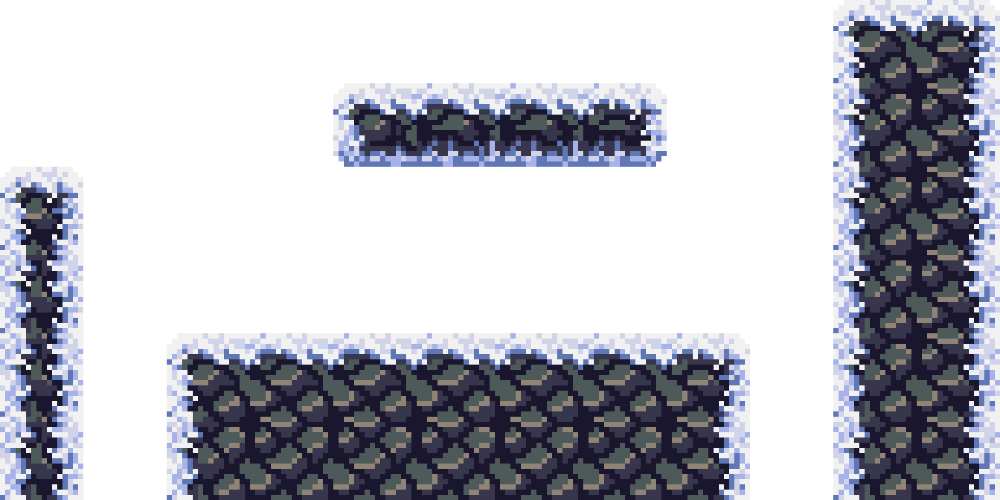
Tiles must tile: center brick, edges, corners, transitions; don't deliver one pretty grass tile that won't connect. Border variants like the image above are "open the box and build a level" parts.
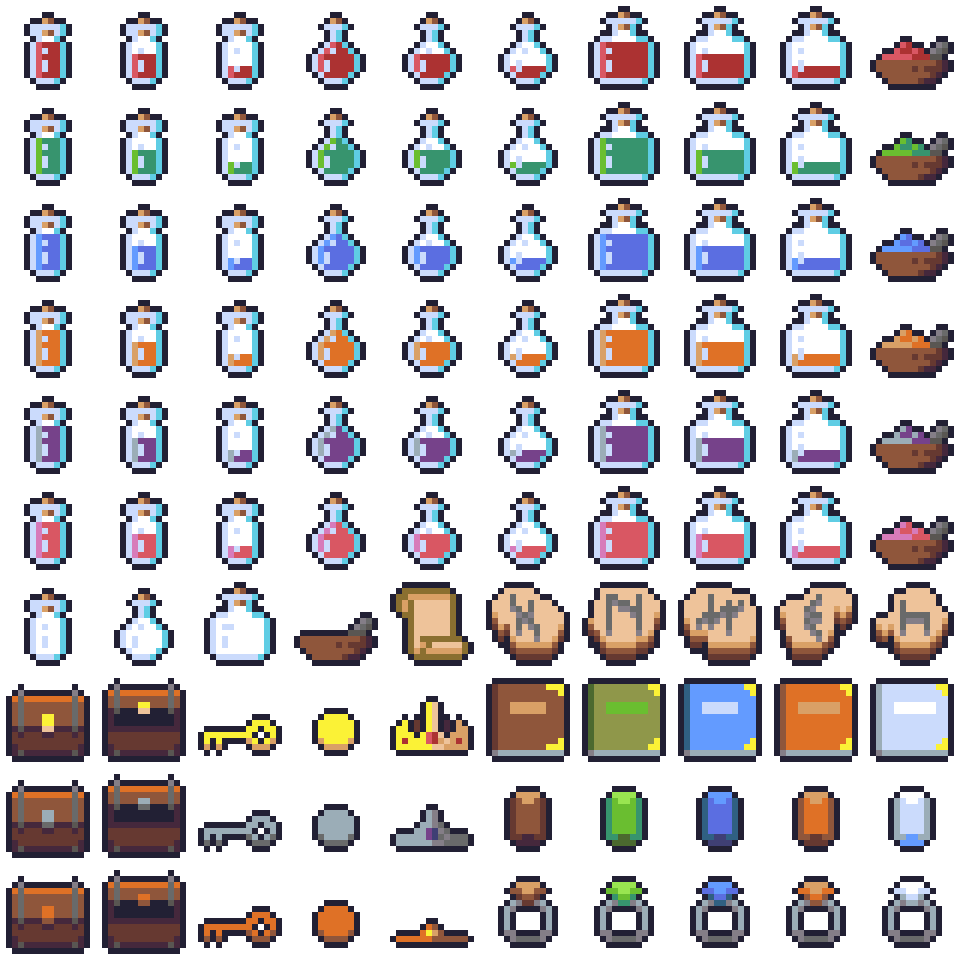
Props / icons with multiple versions in one sheet (color, fill level, gold/silver/bronze) — shows completeness at a glance when packed.
UI as a set: window, button, bar, hearts. Don't miss states (at least Normal + Pressed; Hover/Disabled better if present).
2. Unified Standards (Otherwise It Won't Sell)
| Dimension | Recommendation |
|---|---|
| Character resolution | Same tier across pack (e.g. 32×32 or 48×48) |
| Tile edge length | 16 or 32, note in README |
| Palette | One main palette + small extensions; light source direction consistent |
| Outline | On/off unified |
| Animation | Unified frame rate (e.g. ~10–12 FPS); anchor points documented (mostly foot-bottom) |
Nice-to-have extras: .aseprite source files, clear layers, easy recolor, small variant equipment.
Assembly check: use pack tiles to build a short platform / ground segment — if it tiles smoothly, it's complete.
3. Folders, Naming, Documentation
Clear naming beats fancy:
hero_idle.png          # or hero_idle_strip.png (horizontal strip)
hero_walk.png
tileset_ground_16.png
ui_button_play_4state.png
fx_hit_6f.png
Recommended skeleton:
your_pack/
├── README.md
├── LICENSE.txt
├── preview.png
├── characters/
├── tilesets/
├── props/
├── ui/
├── fx/
├── promo/          # cover, capsule thumbnail
└── example/        # optional: Tiled map / small engine project
README must include at minimum: one-sentence style, inventory, resolution and frame rate, anchor / nine-slice margins, license, author contact. Common licenses: CC0 (use freely), CC-BY (attribution required), commercial license (paid). Indies often start with CC0 / CC-BY to build reputation.
4. Preview and Listing
Buyers look at images first:
- Preview: assets laid out on one image (or collage)
- Cover: the attention-grabbing image from Lesson 33
- GIF: at least one Walk / Attack in motion
- In-game screenshot: a small scene you built is most convincing
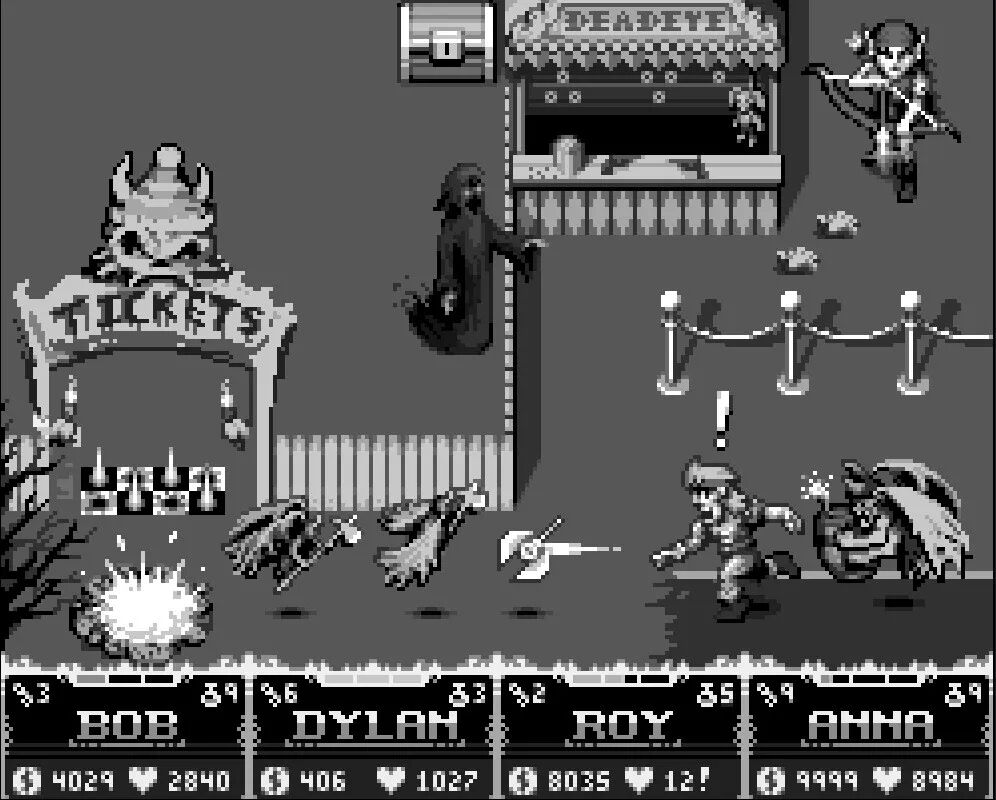
A mockup with "character + enemy + UI in one frame" proves "this can become a game" better than sprite sheets alone.
Release flow: organize naming → delete drafts → ZIP → itch write selling point / specs / license → tag (pixel-art assets …) → share. Unity / UE marketplace has higher bar; can add later.
5. Homework (Finale)
Gather Lessons 21–33 output into one small Asset Pack:
- Inventory: what exists for character / tiles / UI / FX / promo; mark gaps
- Fill gaps: missing frames add frames; UI complete states; tiles can pave at least a 10×6 mini map
- Unify: same size, same palette direction; fix inconsistent ones or move to "Bonus"
- Docs:
README.md+LICENSE; document anchors and nine-slice margins - Preview: one preview collage + one cover (or reuse Lesson 33) + one GIF
- Optional: create itch.io page and upload ZIP, or attach one Tiled map in
example/
Congratulations — the game art track goes from "can draw" to "can deliver." Next you can: drop the pack into your own small demo, or pick one area to go deeper (animation only / UI only / level art only).
课程作者:像素熊老师
微信公众号「教你画像素画」 · B站 · X / Twitter · GitHub