Lesson 10: Light and Shadow Techniques
1. Light and Shadow Techniques
Light and shadow techniques became popular during the Renaissance. Earlier paintings were mostly flat murals.
Flat murals are similar to modern side-scrolling games: the heads of figures are in profile, while the bodies can be facing forward or to the side. This kind of painting lacks a sense of three-dimensionality, achieving at best a relief effect.
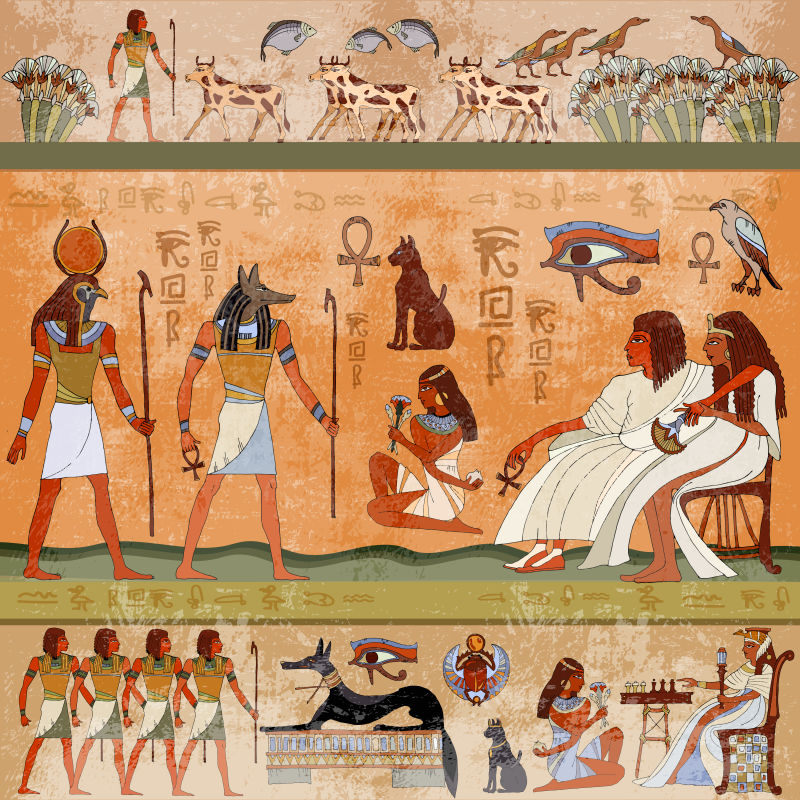
Egyptian murals
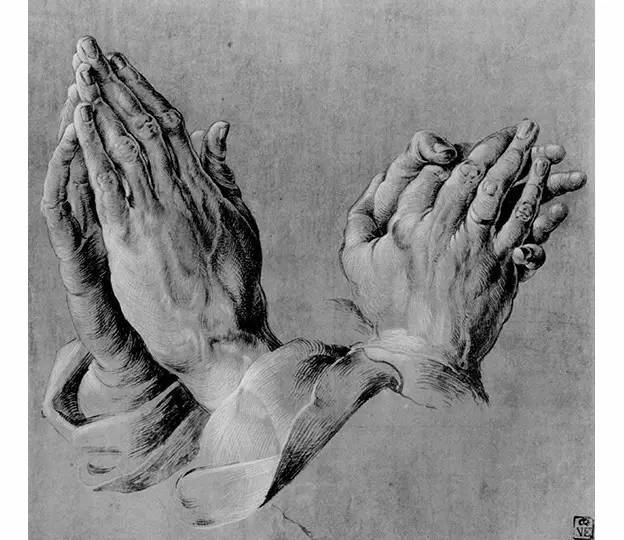
Appreciate the work of the Renaissance master Albrecht Dürer.
Human painters achieved camera-level realism for the first time! Even today, domestic academic art education is still dominated by realistic art education; it is difficult to get into the fine arts system (including affiliated high schools and academies) without being able to paint realistically.
2. Where Does Light and Shadow Come From?
Humans live on Earth. Earth revolves around the Sun (creating the four seasons), and Earth also rotates (creating day and night).
You can take a ball and simulate it by moving it around a desk lamp at night. The side of the ball that the light cannot reach is night.
People can see things because there is light. Painting is actually about depicting how light falls on the subject being painted.
Although you may not have studied light, everyone knows how it works. You see light every day; light bounces off some things and refracts onto others.
The angle at which light hits an object affects its light and shadow.
When painting portraits, most painters cannot imagine the structure of the human head out of thin air.
Therefore, photo references are needed.
Understanding and mastering how light works allows you to set up light sources as you wish (without copying the light and shadow from photos) and create realistic, believable portraits.
3. Light and Shadow in Pixel Art
Pixel art itself encompasses countless styles; it can be realistic or abstract and flat.
It is enough to have a basic understanding of light and shadow techniques; there is no need to go too deep. Of course, if you are determined to paint super-realistic pixel art, spending a little more time on it is also fine.
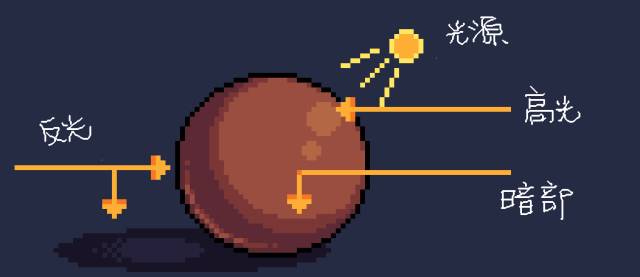
3.1. Light and Shadow Rules: Cubes and Spheres
Light and shadow techniques can be simplified and summarized into the light and shadow rules of cubes and spheres. As long as you understand and master the light and shadow rules of cubes and spheres, you can draw the light and shadow of any form. This method also holds true for traditional painting.
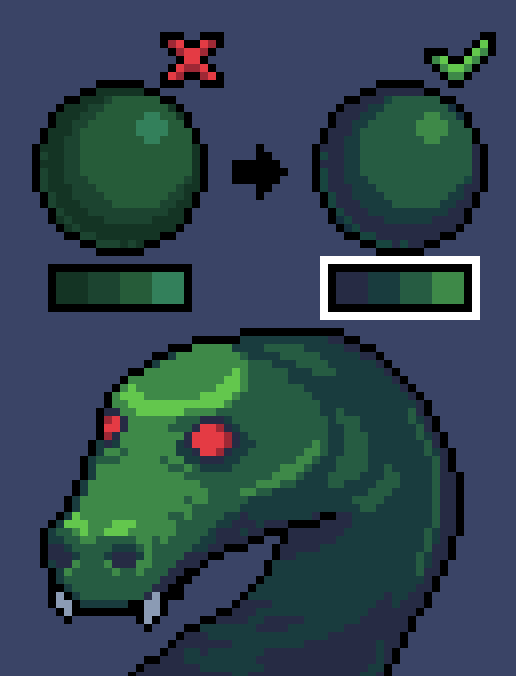
Using the light and shadow rules of a sphere to draw a snake. The various levels of light and shadow must have strong contrast.
Why? Because everything in the world can be simplified and summarized into cubes or spheres, and then you can use the light and shadow rules of cubes and spheres to paint the light and shadow of everything in the world.
The shapes of the light and dark parts influence each other; changing the shape of the light part will simultaneously change the shape of the dark part.
Highlights are within the light part and will also influence each other's shapes.
Although the rules are the same, the materials of everything are different. Some, like metal, have strong reflective abilities, while others, like plastic, have weak reflective abilities. Therefore, the light and shadow they display will also differ.
3.2. Large Blocks of Color
When painting light and shadow, you must divide into blocks and planes.
What traditional painting beginners hear most from their teachers is: find the boundary between light and shadow.
Once you find the boundary between light and shadow, you can at least draw the light and dark planes, and the overall light and shadow effect of the picture will emerge.
3.3. Compress Transitional Tones
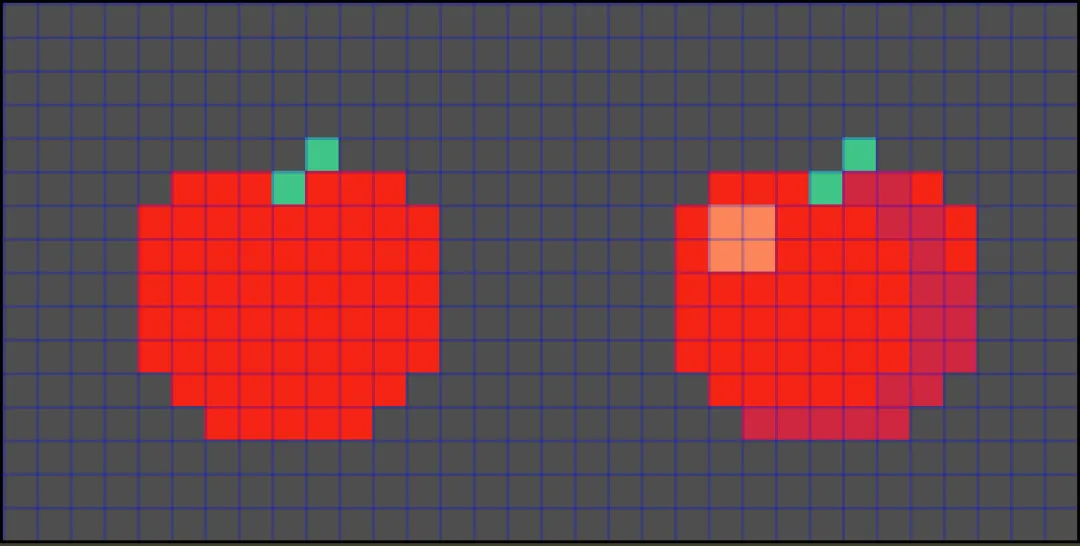
Sometimes, a light and shadow gradient that is too regular, such as having the same area, will look odd.
You can appropriately compress the width of the tones.
In the image below, the original stepped gradient was particularly ugly. After pulling apart the levels of tones, it not only looks more comfortable but also shows the smooth texture of the helmet.

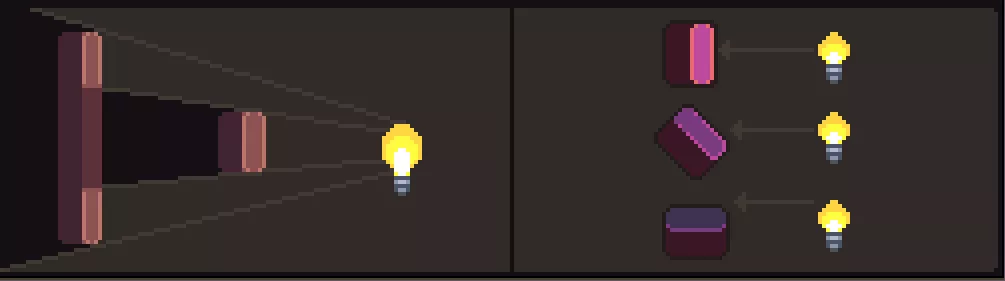
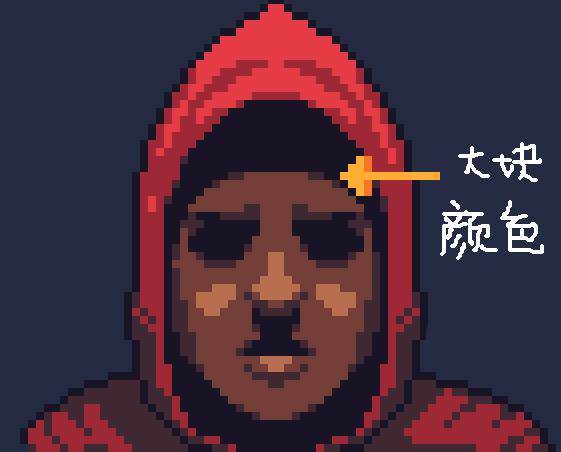
3.4. Secondary Light Sources

From left to right: no light and shadow; added dithering (light source at upper right); added auxiliary light source (light source at right).
Changing the position of the light source and adding auxiliary light sources can give characters or props a richer visual effect.
4. Demonstration Video
5. Homework
Use the methods learned today to add light and shadow effects to a pixel art piece you have previously drawn.
课程作者:像素熊老师
微信公众号「教你画像素画」 · B站 · X / Twitter · GitHub